Start with the orchid you have
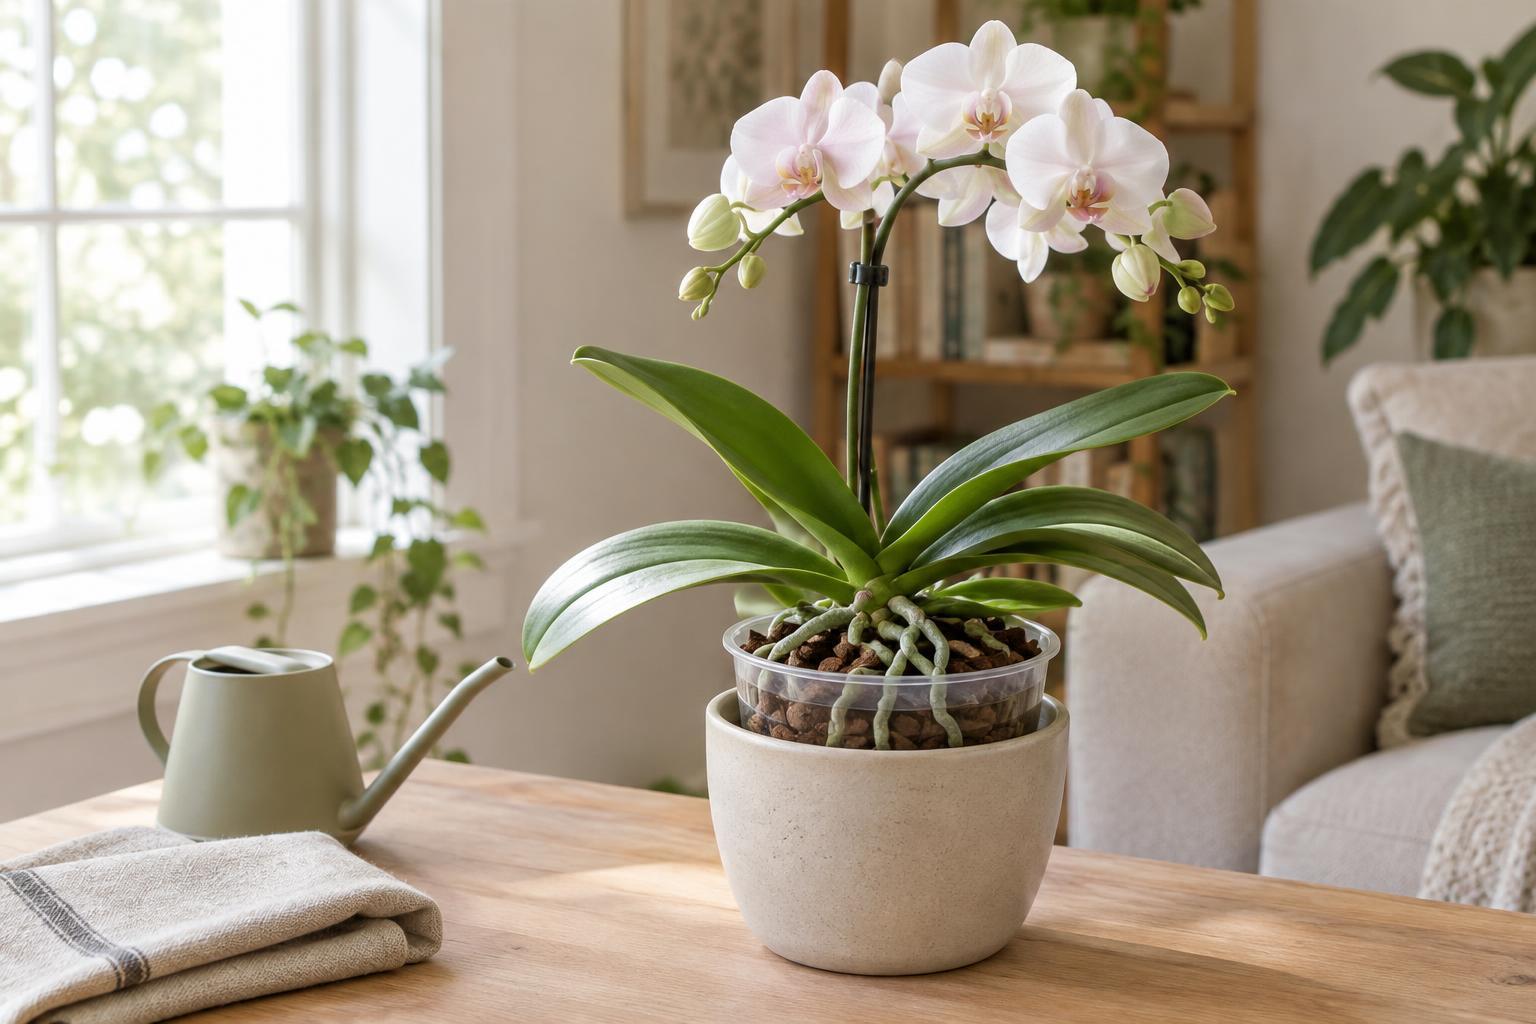
Many orchids sold as houseplants are Phalaenopsis, often called moth orchids. They are a useful starting point for beginners because they can grow in ordinary indoor conditions. The advice here is aimed at moth orchids; other kinds of orchids may need different light, temperatures or watering routines. If your plant has a label, keep it so you can check its particular needs.
A moth orchid usually grows in chunky bark or another airy mix rather than regular potting soil. Its thick roots need both moisture and air. Choose a container with drainage holes, and check that any decorative outer pot does not hold water against the inner pot. A clear inner pot can make it easier to see the roots and the condition of the mix, but it is not essential.
Learn what the roots are telling you
Healthy orchid roots are generally firm. They may look silvery when dry and greener after watering, especially if they are exposed to light. Roots that grow over the edge of the pot are normal aerial roots, not a sign that the plant is escaping. Leave them in place rather than forcing them into the mix.
Root color alone is not a complete diagnosis. A firm pale root may be fine, while a root that is mushy, hollow or falling apart is not functioning well. Shriveled roots can suggest that the plant is struggling to take up water, but the cause may be too little water or roots damaged by a mix that stays wet. Check how the potting mix feels and whether the pot drains before changing your routine.
Water the mix, then let it drain
Instead of watering on a fixed day each week, check the pot. When the bark is nearly dry and the pot feels noticeably lighter, water the mix thoroughly with room-temperature water. Let the excess run out, then return the orchid to its usual spot. Empty any saucer or outer pot so the roots are not left sitting in water. The time between waterings will vary with the pot, mix, room temperature and season.
Try to direct water into the potting mix rather than letting it collect where the leaves meet at the center of the plant. If water does sit there, gently blot it away. Good drainage matters more than a complicated watering technique. An orchid in dense, broken-down mix may remain wet for too long even if you water sparingly; fresh, airy orchid mix can help when the old mix no longer drains well.
Set up a comfortable place to grow
Give a moth orchid bright, indirect light, such as a place near a window where strong sun does not strike the leaves for long periods. Direct midday sun can be harsh, while a dim corner may make reblooming less likely. If you move the plant to a brighter position, do it gradually and watch for leaf damage. Keep it away from drafts and sources of intense heat.
Orchids can grow without fertilizer for a while, but occasional feeding during active growth may help. If you use a fertilizer intended for orchids, follow its label and avoid applying more than directed. Repot when the mix has become compacted or broken down, or when the plant needs a more suitable container. Use a pot only large enough to hold the roots comfortably; a much larger pot can leave more mix wet for longer.
After the flowers fall, give it time
Fading flowers do not mean the orchid is dying. Once blooming ends, continue caring for the leaves and roots. If the flower spike turns brown and dry, you can trim it near its base with clean scissors. If it remains green, you can leave it in place; it may produce another branch, though it may also dry out later. Either choice is reasonable for a healthy plant.
Reblooming depends on the plant having enough light and time to grow. A gentle difference between daytime and nighttime temperatures may encourage a moth orchid to form a new spike, but there is no need to expose it to cold conditions. Focus first on firm roots, well-drained mix and suitable light. New leaves or roots are useful signs of growth, even when flowers are not immediately on the way.