Choose flowers that suit your space
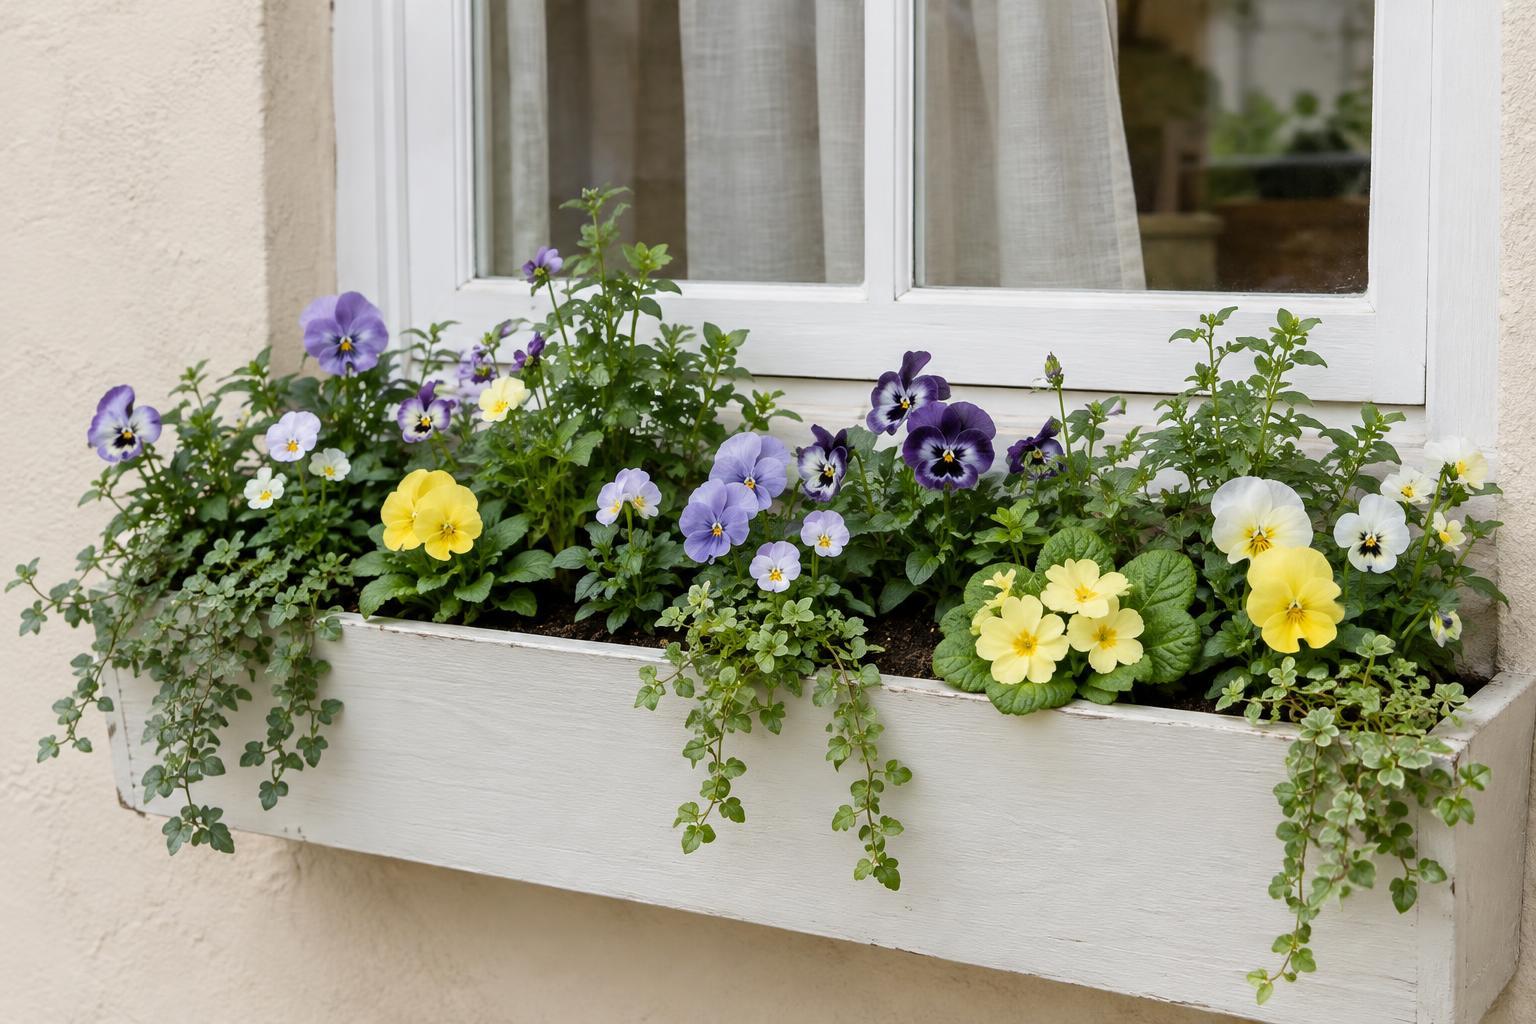
Starting annual flowers from seed can fill a patio pot, window box or garden bed with color. Before choosing varieties, decide where the plants will eventually grow. Check how much sun that spot receives, how much room you can give each plant and whether you want flowers for containers, borders or cutting. A compact variety may be easier to manage in a small space than a tall, spreading one.
Read each seed packet before making a plan. It should tell you whether to start the seeds indoors or sow them directly outside, how deeply to plant them and how long before your expected last frost to begin. Some annuals dislike having their roots disturbed and are simpler to direct sow. Others benefit from an indoor start, especially where the outdoor growing season is shorter. Choose a few varieties with similar needs for your first attempt; one manageable tray is better than more seedlings than you can plant.
Gather supplies and pick the right time
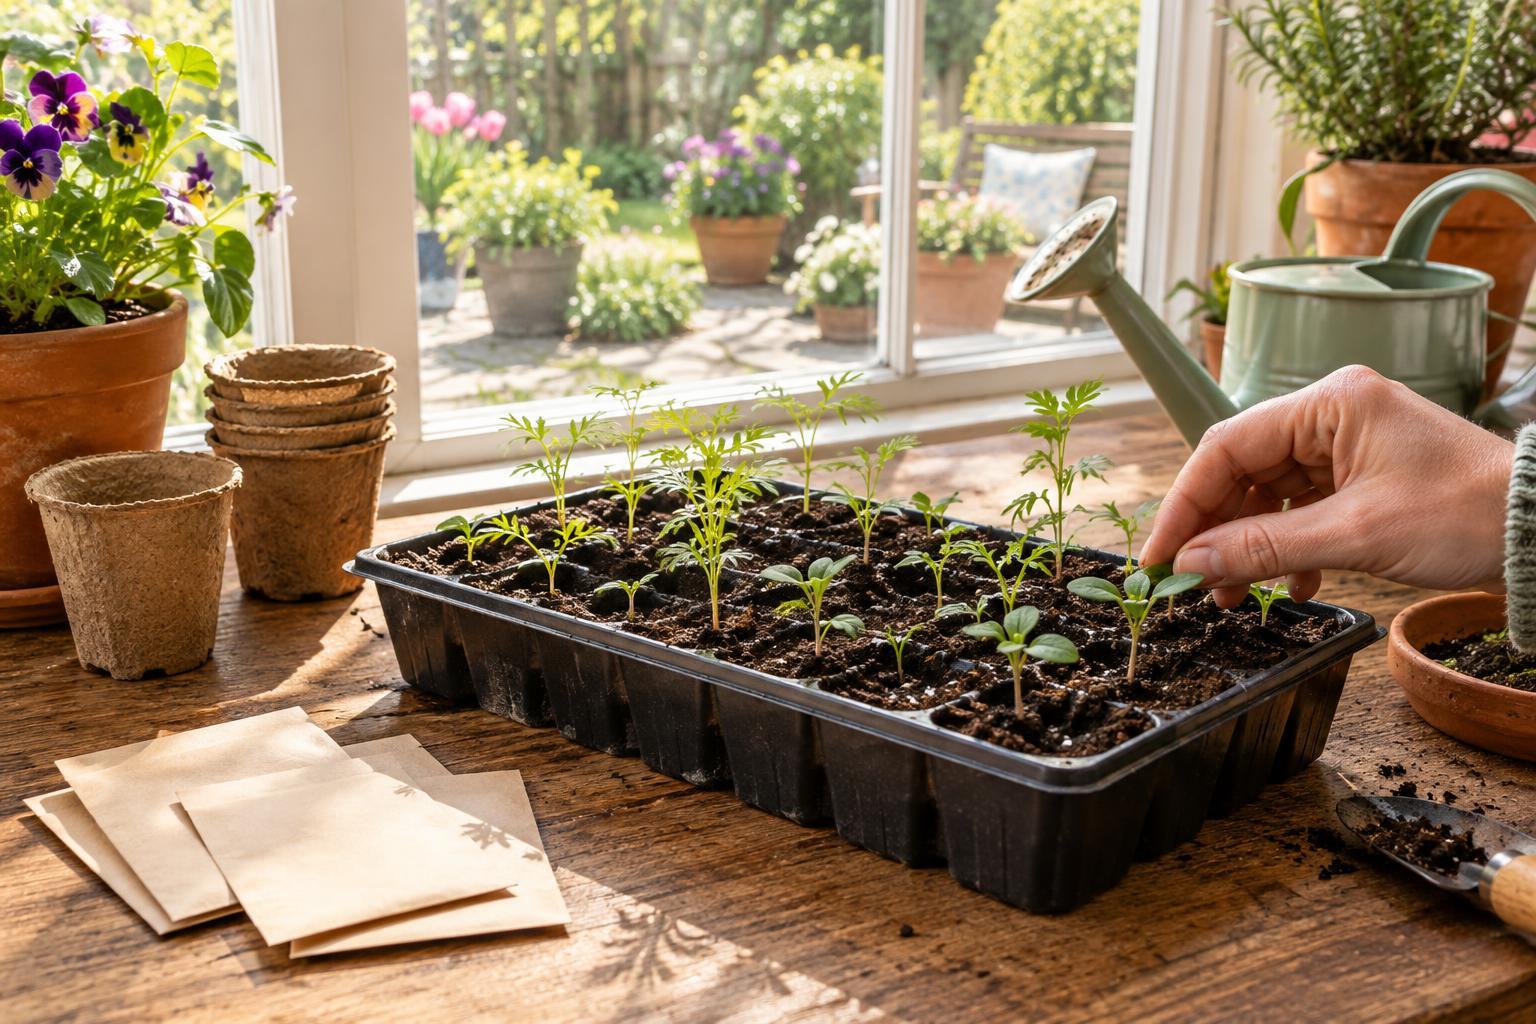
For indoor sowing, you need clean containers with drainage holes, a tray to catch water, seed-starting mix and labels. Cell trays are convenient, but small reused pots work if they are clean and drain freely. Seed-starting mix is typically lighter than garden soil, helping delicate roots grow while allowing excess water to escape. Moisten the mix before filling your containers so it feels evenly damp, not dripping.
Work backward from your area's usual last frost date, following the timing on each packet rather than starting everything at once. Sowing too early can leave you with crowded plants indoors long before conditions outside are suitable. Prepare a place where the containers can receive good light after germination, such as a bright window or a shelf with a grow light. Keep the setup somewhere you will notice it daily; regular checks make it easier to catch drying mix or emerging sprouts.
Sow gently and keep the mix evenly moist
Fill the containers without pressing the mix down hard. Sow at the depth recommended on the packet; some seeds need a light covering, while others need light to germinate and should remain on the surface. If several seeds go into one cell, you can thin them later. Label each variety with its name and sowing date before watering, since young seedlings can look surprisingly alike.
Water carefully so the seeds do not wash into a corner. A gentle spray or water added to the tray beneath the containers can help settle the mix. Let excess water drain away rather than leaving the containers standing in it. While you wait for sprouts, check the surface regularly and keep it consistently moist. A loose cover can help hold moisture during germination, but remove it once seedlings appear and allow air to circulate. Germination times vary, so use the packet as a guide and give slower varieties time.
Give seedlings light and room to grow
Once shoots appear, move them into strong light. If seedlings become long, pale and inclined toward a window, they may need more light. Turn window-grown trays regularly, or adjust a grow light according to its instructions so the plants receive even coverage. Keep the mix damp but not waterlogged, and check individual cells: small containers can dry at different rates.
When several seedlings grow in one cell, thin them to the strongest plant by snipping extras at the soil surface. Pulling them out can disturb nearby roots. If roots fill a small cell before outdoor planting time, move the seedling into a slightly larger pot with potting mix. Handle it by a leaf rather than squeezing the stem, and set it at the same depth it was growing before. Aim for steady growth, not the biggest possible plant indoors.
Ease plants outdoors before spring planting
Indoor-grown seedlings need time to adjust to outdoor sun, wind and temperature changes. When conditions are suitable for the varieties you chose, begin placing them outside in a sheltered spot for a short period each day. Gradually increase their time outdoors and exposure to sun over the following days. Bring them back in if temperatures drop too far or the weather turns harsh. This gradual transition, called hardening off, helps reduce stress after transplanting.
Plant out after the frost risk has passed for tender varieties, or follow the packet's guidance for any that tolerate cooler conditions. Water seedlings before removing them from their containers, space them with their mature size in mind and water them in after planting. For containers, use pots with drainage holes and leave enough space to water without overflowing. Keep newly planted flowers evenly watered while they establish. If a few seeds fail or a seedling struggles, treat it as useful information for next spring rather than a failed project.