Start with the size of the mature plant
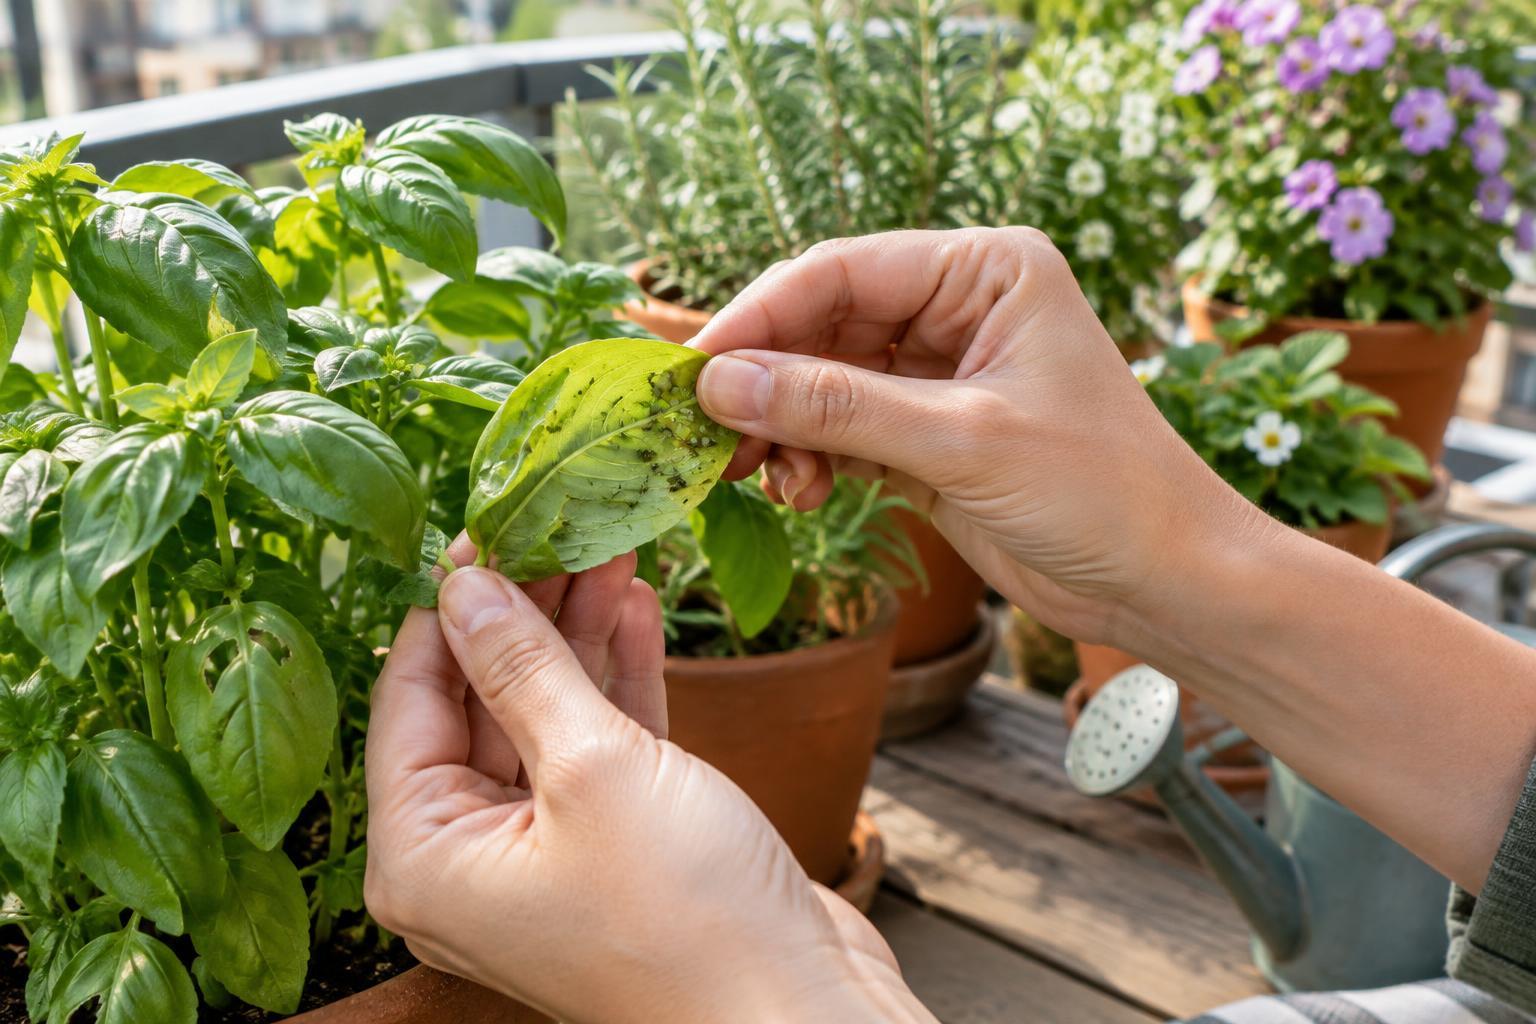
A container can hold many seeds, but it may only have room for a few mature vegetables. Spacing is the distance each plant needs from its neighbors as it develops leaves and roots. When plants are crowded, they compete for the same limited water, nutrients and light. Their leaves may also overlap so closely that it becomes harder to spot pests or damaged growth.
Read the seed packet or plant label for the variety’s recommended spacing, then consider how you intend to harvest it. A lettuce grown to full size needs more room than lettuce picked repeatedly for young leaves. A single tomato plant may fill a large pot, while several small root crops can share a wide planter. These are different planting plans, not reasons to ignore spacing altogether.
Plan the container, not just the row
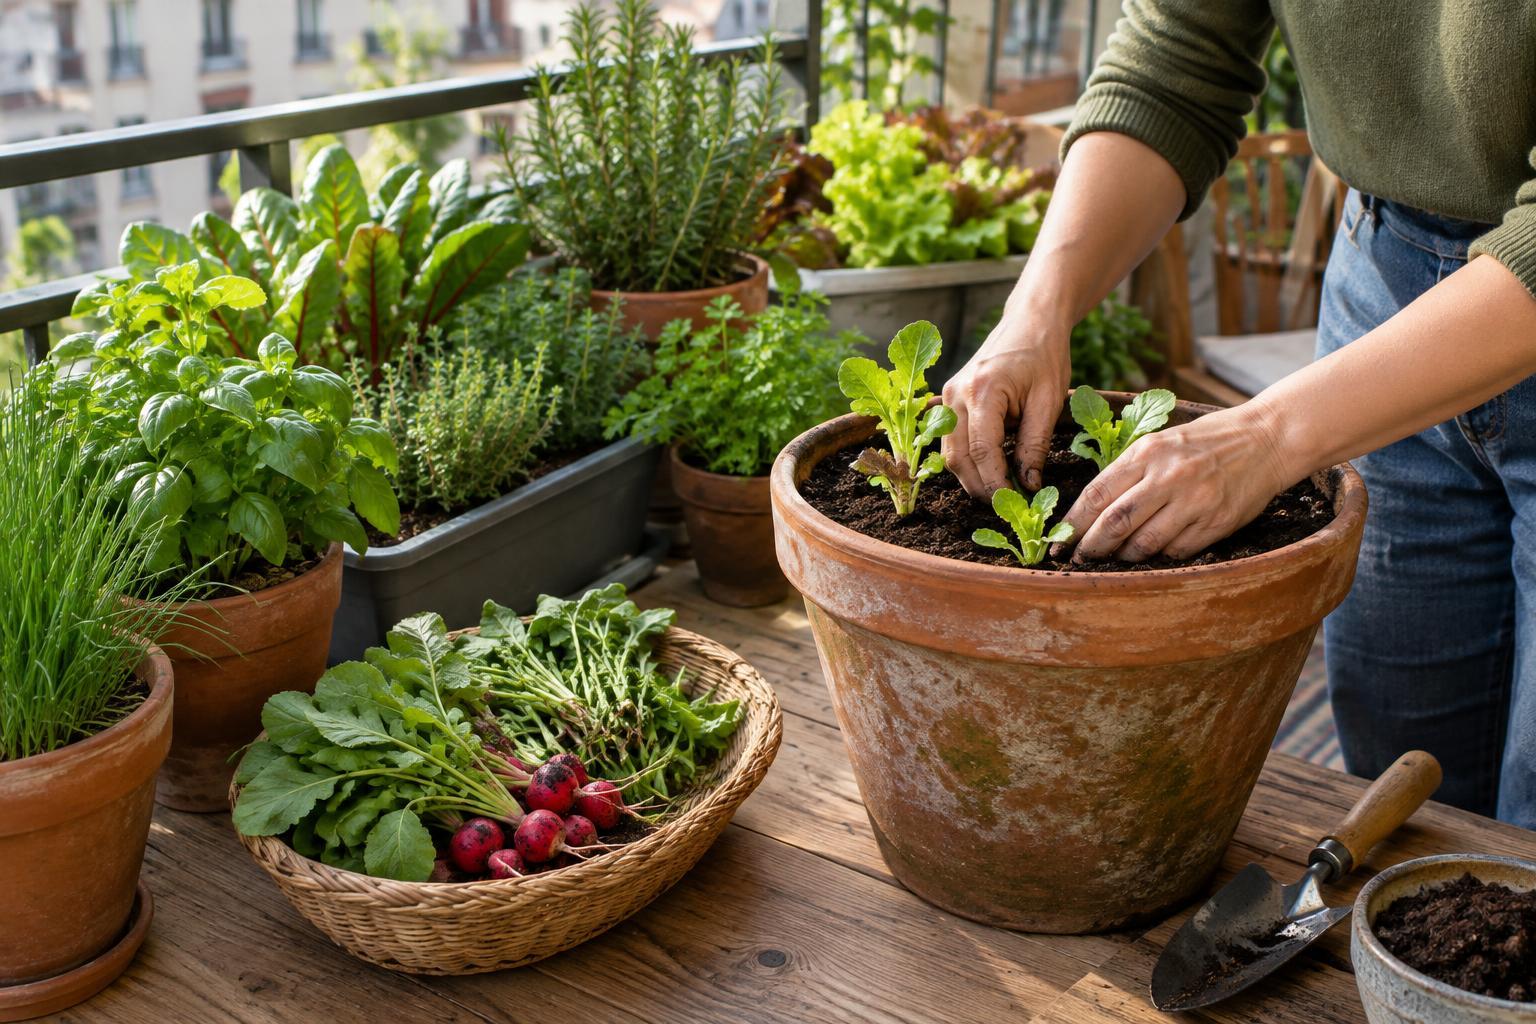
In a garden bed, spacing instructions often describe plants in rows. In a pot or window box, look instead at the usable surface of the soil. Mark out positions so each plant has room on all sides, including near the rim. You can stagger plants rather than line them up, provided their leaves will not be pressed tightly together as they mature.
The container also needs enough depth for the crop’s roots, drainage holes and a suitable potting mix. A shallow box may work for crops harvested as young leaves but is less forgiving for larger or deeper-rooted vegetables. If the recommended spacing leaves room for only one plant, plant one. Adding more seedlings cannot create more root space; it usually means more frequent watering and a harder choice about what to remove later.
Sow with thinning in mind
Small seeds can be difficult to place precisely, so sowing a little more densely than the final spacing is often practical. Spread them as evenly as you can rather than dropping a cluster into one spot. For larger seeds, make individual planting holes at roughly the intended positions. Label the container, especially if several crops have similar-looking seedlings.
Once seedlings have emerged, give them time to develop their first true leaves: the leaves that appear after the initial seed leaves. This makes it easier to judge which plants are growing well. Thin before neighboring stems and roots become heavily tangled. If germination is patchy, you can leave a promising seedling in an unexpected position and adjust the plan around it rather than insisting on a perfect pattern.
Thin gently and in stages
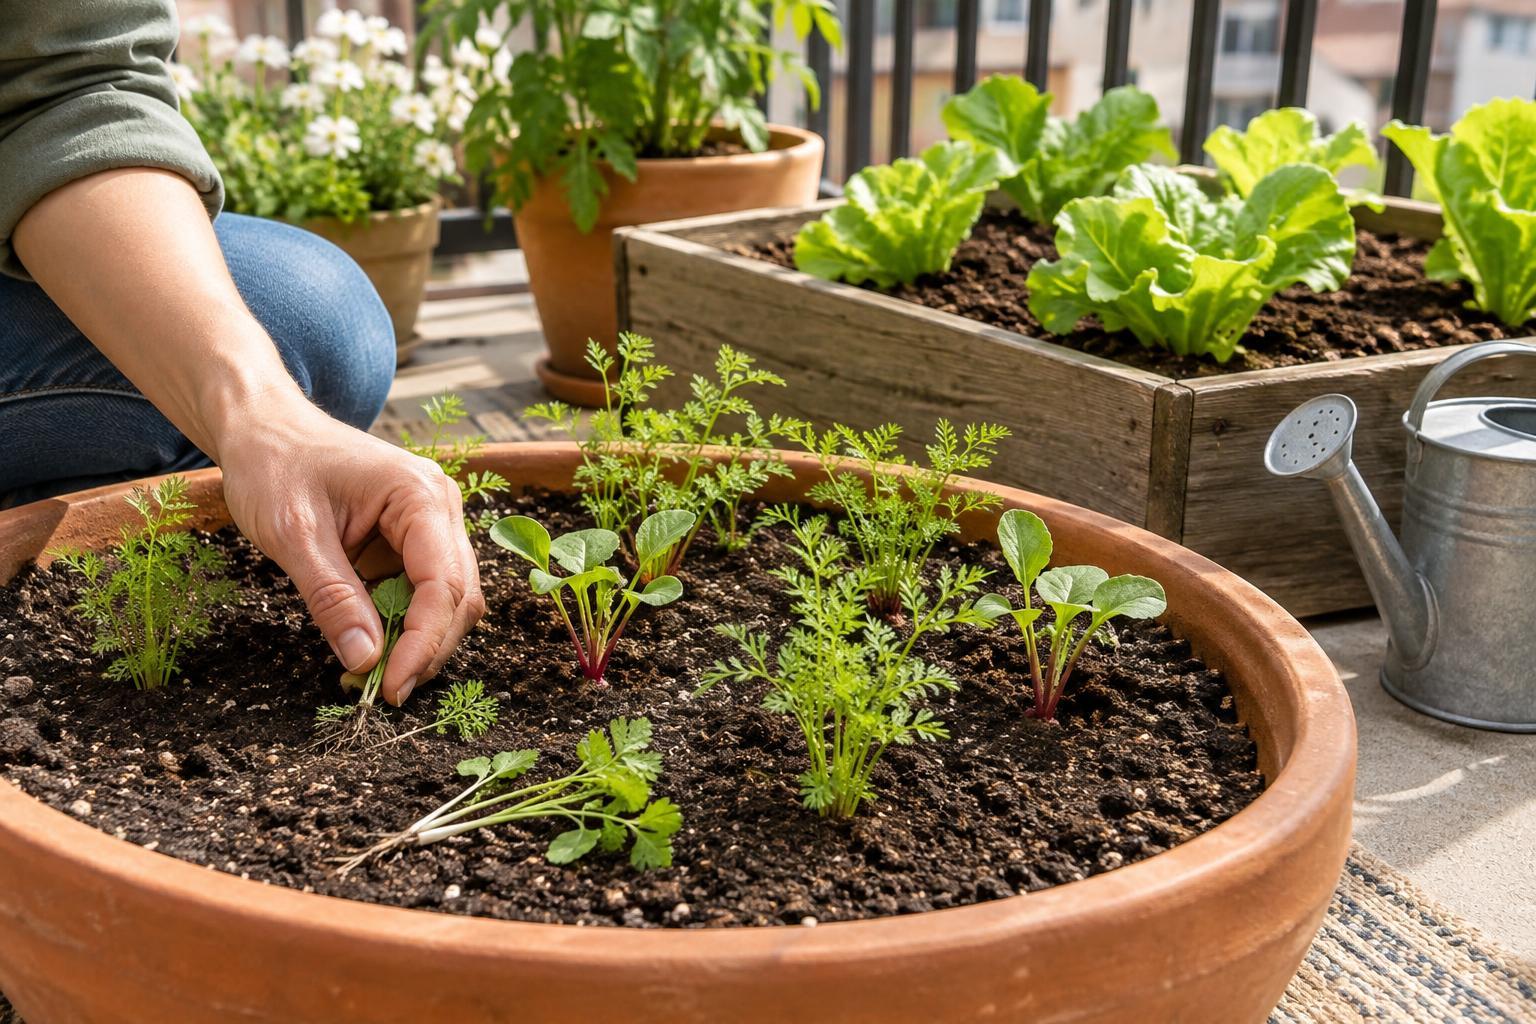
Choose the seedlings you want to keep, looking for sturdy growth and useful spacing. Remove weak, damaged or closely grouped seedlings first. Where plants are very close together, snip the extras at soil level with clean scissors. Pulling one out can disturb the roots of the seedling beside it. If seedlings are farther apart and the soil is moist, you may be able to lift one carefully, but avoid digging around a plant you want to keep.
You do not always have to reach final spacing in one session. A first thinning can separate crowded seedlings; a second can give the remaining plants their full room as they grow. This is particularly useful with vegetables you plan to harvest young. Only eat thinnings if you are certain of the plant’s identity and the leaves are suitable to eat. Otherwise, add them to your compost or discard them.
Keep checking as the container fills
Spacing is a plan for growth, so revisit it after the seedlings settle in. Look down at the container and ask whether each plant still has access to light and whether you can water the soil without fighting through a dense canopy. If growth becomes crowded, harvest suitable plants early or remove an extra plant before its neighbors are affected.
Keep watering consistent after thinning, since the remaining plants still share a relatively small volume of potting mix. Check moisture with a finger rather than watering by a fixed calendar, and make sure excess water can drain away. The aim is not an empty-looking pot forever. It is a container that has enough room at each stage to produce the vegetables you actually want to harvest.