Start with the window, not the flowers
Before buying plants, watch the window for a day. A box that receives several hours of direct sun offers different growing conditions from one shaded by a porch or nearby building. Check whether an overhang keeps rain out, and whether you can comfortably reach the box to water it. These details matter more than the color scheme: flowers matched to the spot are easier to keep looking fresh.
Choose a box with drainage holes and enough depth for roots and potting mix. If it will hang from a railing or wall, use hardware intended for its weight when filled with damp soil and plants. Fasten it securely, especially above a walkway, and place a tray below only if you can empty it; roots should not sit in collected water. A freestanding box on a broad sill also needs a stable position where it cannot be knocked or blown off.
Pick flowers for spring conditions
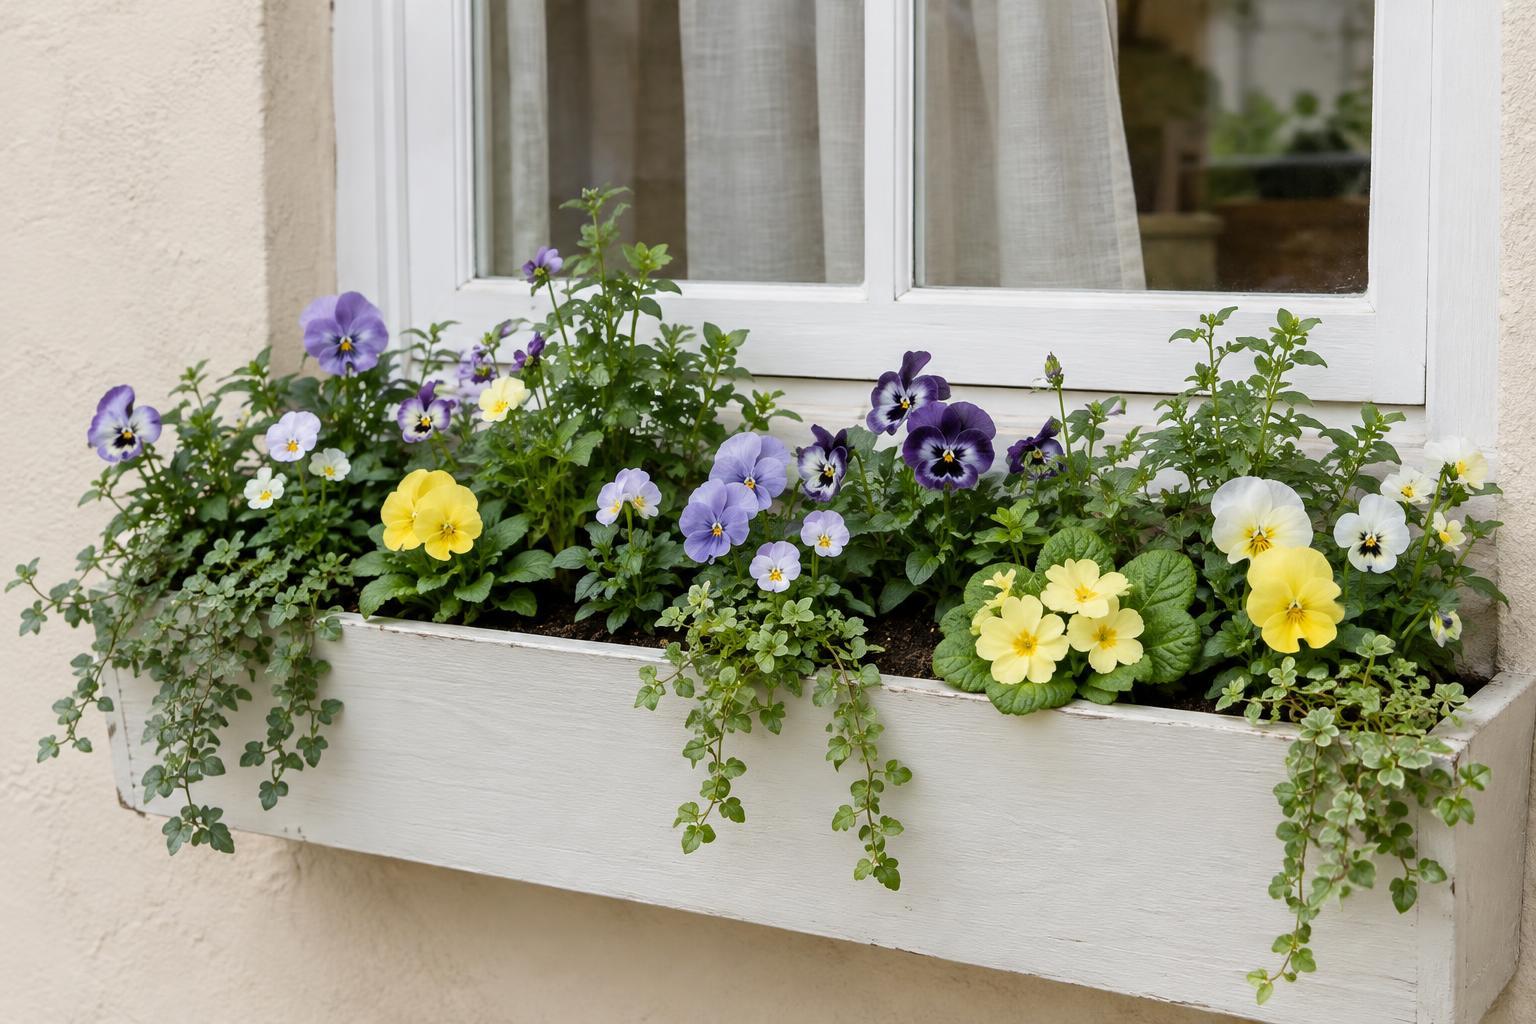
Pansies and violas are familiar choices for spring boxes because they generally prefer the milder temperatures of the season. Violas have smaller flowers that can make a box look full without needing a large planting. Primroses can add bright clusters of color to a spot with gentler light, provided their potting mix does not dry out completely. Sweet alyssum may soften an edge with small blooms, though its performance depends on the conditions in the box.
At the plant shop, read labels for light needs, mature size and local planting guidance. Pick compact, healthy plants with firm stems rather than filling every inch with the largest specimens available. Two or three kinds of flowers are enough for a clear design. You might repeat one color along the length of the box, then add a contrasting flower near the center. Repetition often looks more settled than a different plant in every position.
Spring weather varies, and a plant described as cool-season is not necessarily safe through every freeze. If cold nights are still common where you live, ask about locally suitable plants and be ready to protect a newly planted box.
Plant for a full look that has room to grow
Set out your plants in their nursery pots before opening the potting mix. For a box viewed mainly from indoors, put taller plants toward the outside edge of your view so they do not hide the lower flowers behind them. For a box viewed from the street, place taller plants toward the window and shorter ones near the front. Keep leaves and flowers from pressing against the glass or blocking a window that needs to open.
Fill the box partway with a potting mix made for containers, rather than dense garden soil. Remove each plant from its pot, gently loosen any tightly circling roots, and set it at about the same depth it grew before. Add mix around the roots and firm it lightly, leaving space below the rim so water will not spill over. Follow plant-label spacing where possible; the box may look modest on day one, but a little open space helps air and water reach the plants.
Water slowly until moisture drains from the bottom. This settles the mix around the roots and reveals any low spots you need to fill. If water rushes down one side without wetting the surface evenly, pause and water again in smaller amounts.
Help the box through changeable weather
Check the potting mix with a finger instead of watering on a fixed schedule. When the surface feels dry, water thoroughly and let the excess drain. Wind and sun can dry a window box faster than a sheltered garden bed, while a cool, rainy spell may mean it needs less water. A box tucked beneath an overhang may need watering even when the garden below is wet.
Remove fading flowers and yellow leaves as you notice them. This keeps the planting tidy and gives you a chance to spot dry patches or crowding. If a late frost is forecast, move a portable box to a sheltered place if you can do so safely. Otherwise, temporary plant cover may help; keep the cover from crushing the flowers, and remove it when conditions improve.
Refresh it when spring gives way to summer
A spring window box does not need to last all year. As days grow warmer, some cool-season flowers may bloom less or become tired-looking. You can replace individual plants to keep the arrangement going, or treat the whole box as a seasonal project and replant it for the conditions ahead. Clear away spent plants and roots, check that the drainage holes remain open, and refresh the potting mix as needed.
The most useful lesson from the first planting is how the window actually behaves: how much light it gets, how quickly the box dries, and which plants stayed comfortable there. Keep those observations in mind for your next arrangement. A good window box is not a fixed recipe; it is a small garden adjusted to its particular place.