Plan labels you will actually use
Spring planting is easier to keep track of when each pot has a label from the start. A name alone may be enough for a houseplant, but seedlings and closely related herbs can benefit from a little more detail. Before making anything, decide what you want to record: the plant name, variety, sowing or planting date, or a short care reminder. Keep the writing brief enough to read without lifting the label out of the soil.
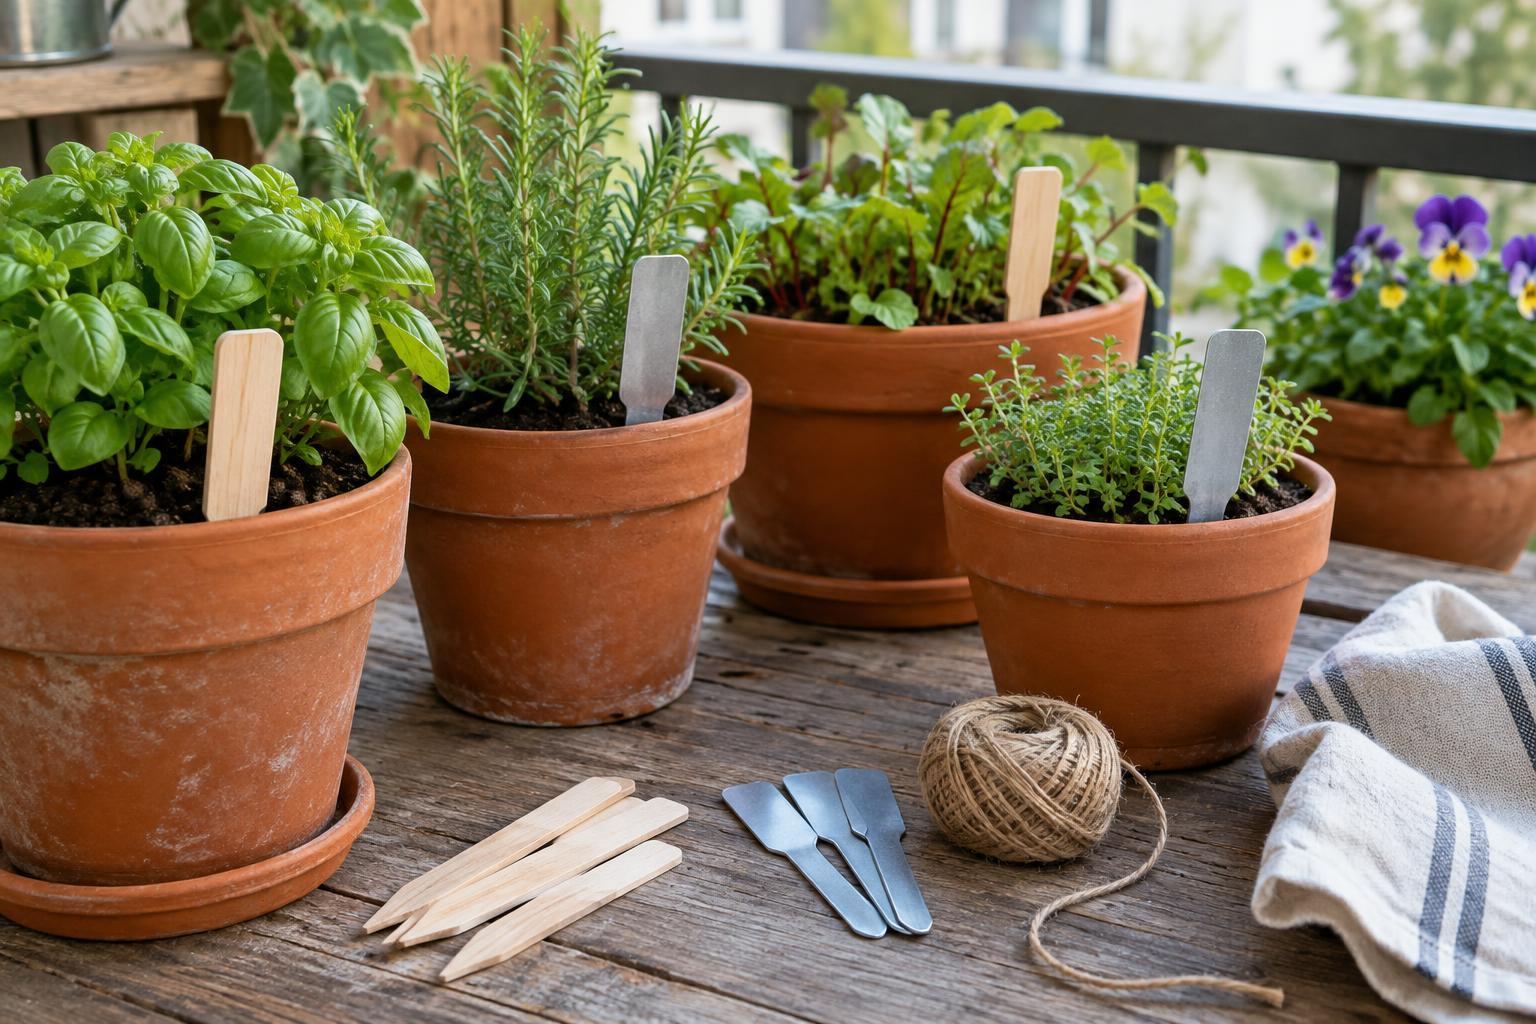
Choose a label size that suits your containers. A broad tag can look oversized in a small herb pot, while a tiny tag may disappear behind leaves in a patio planter. If several plants share one container, place labels near their stems while leaving room for growth. For a collection visible from your living space, using the same shape and lettering style can make the pots feel orderly without making them look overly formal.
Choose a sturdy, reusable base
Clean plastic food lids, retired plant tags and offcuts of thin, smooth wood can all become labels. Cut plastic into strips with rounded corners, or trim wooden pieces to a length that can sit securely in the pot. If you are reusing old tags, wash off soil and let them dry before writing. Avoid sharp edges, splintering wood and materials that become soft when wet. A narrow end is helpful for inserting a label, but it need not come to a point.
For a simple alternative, write on a small flat tag and attach it to a short stake with garden twine. Keep the tie loose enough that the tag can be removed later. This approach works well if you want to change the written part without replacing the stake. Whichever base you choose, make one test label first and place it in a pot. Check that it stays upright, can be read from where you normally stand and does not crowd the plant.
Write for the conditions your pots face
Use lettering that remains legible at a glance: a plant name on the first line and any extra detail beneath it. A dark marker on a pale surface is usually easier to read than fine writing on a patterned material. For outdoor pots, test your chosen marker on a spare piece, let it dry fully, then dampen the surface and rub it gently. If the writing smears, try a different marker or use a removable paper insert in a sheltered tag holder instead.
If you expect to change plantings often, put temporary details such as dates on a separate label. That leaves the main tag available for a plant you grow again. Reused labels may show old writing through a new name, so clean or cover the previous text before relabeling. Take a moment to check spelling and variety names against the seed packet or plant tag you already have; a clear label is only useful if it identifies the right plant.
Place, maintain and store the labels
Insert each stake near the inside edge of the pot rather than pushing it close to the plant’s stem. In an established container, work gently so you do not force a stake through roots. Position the writing toward the side you usually approach, whether that is a balcony door, kitchen window or patio path. Labels in a shared planter may be easier to follow if they sit in the same order as the plants.
Check the labels when you water or tidy the pots. Wipe away splashed soil, replace fading writing and move any tag that becomes hidden by foliage. At the end of a planting season, wash and dry the labels before storing them in an envelope or small box. Keep blank pieces and a marker together so the next round of planting can begin with labels ready to use. It is a small habit, but one that makes a changing collection of containers easier to understand.