Gather what the season has left behind
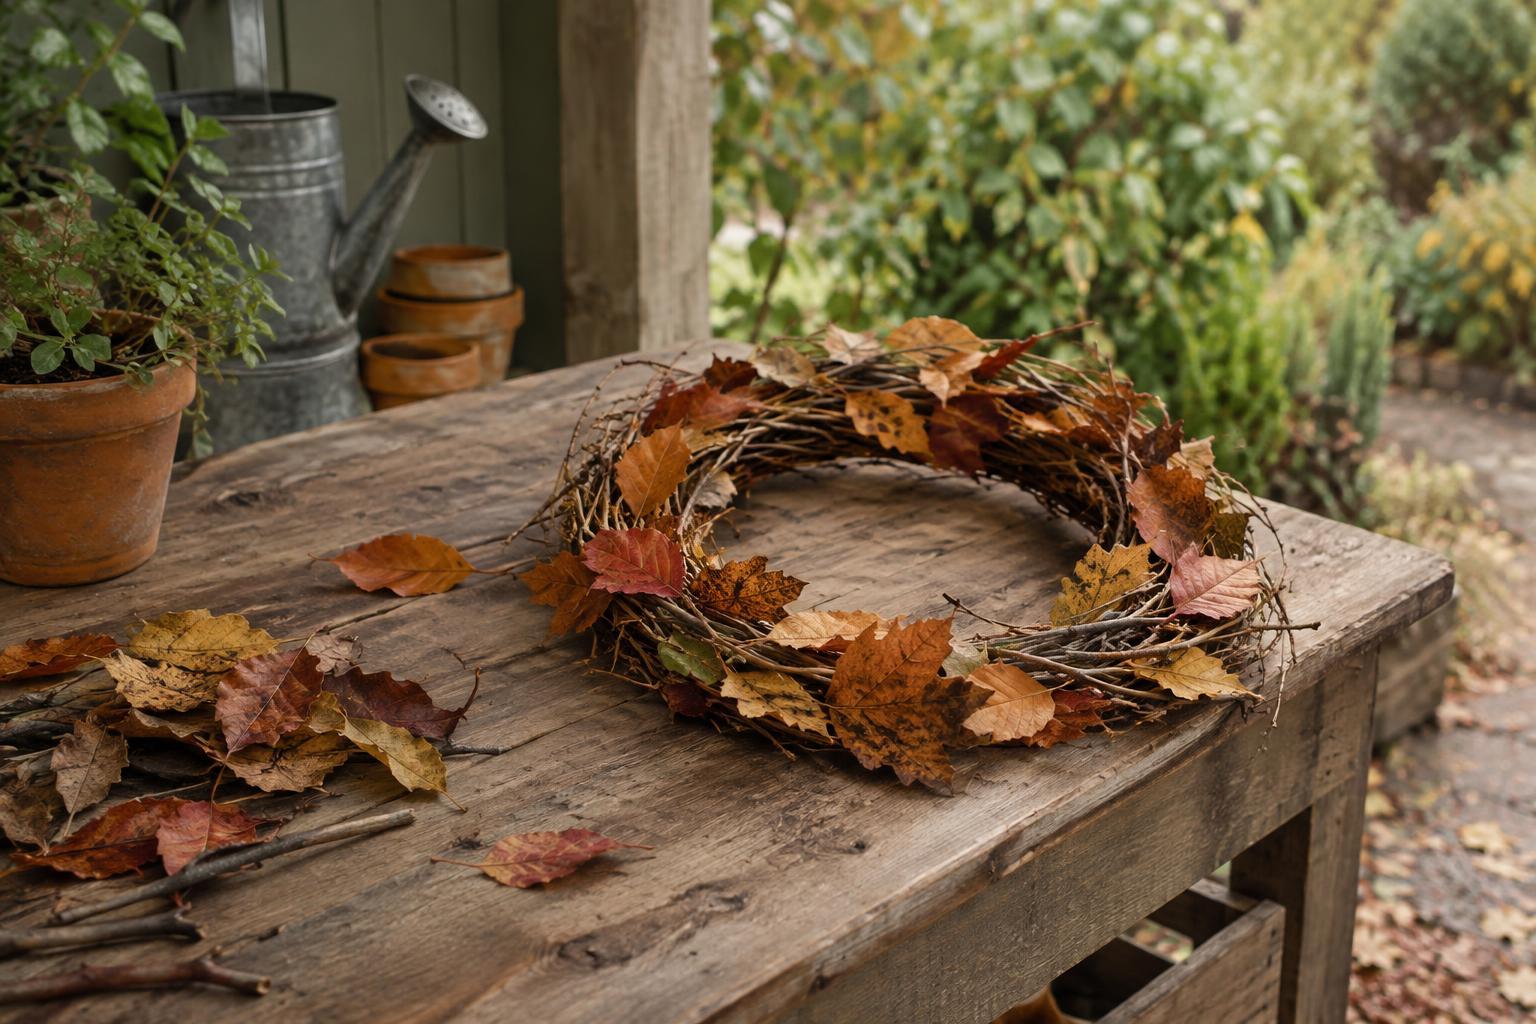
An autumn wreath does not need a perfect circle or a basket full of supplies. Its appeal comes from the shapes and colours already on the ground: curled leaves, slender twigs and the occasional seed head. A small wreath can brighten a door, wall or shelf while making use of a few things collected on a walk.
Gather fallen materials only where collecting is permitted, and leave plenty behind for the outdoor space. Look for several long, bendable twigs to form the base, plus shorter ones to fill gaps. Choose leaves with varied colours and shapes, but pass over any that are mouldy or soaked through. Freshly fallen leaves are easier to handle than very dry ones, which may crumble when folded or tied.
You will also need garden twine or sturdy string, scissors and a piece of cardboard to protect your work surface. A shallow tray is useful for sorting what you have gathered. If the leaves are damp, spread them out and let their surfaces dry before you begin; wet leaves packed tightly together can make the finished wreath messy.
Build a loose twig frame
Decide where the wreath will hang before choosing its size. For a small door or interior wall, a frame roughly the width of a dinner plate is manageable, but there is no need to measure precisely. Take your longest flexible twig and curve it into a loop, overlapping its ends. Wrap twine firmly around the overlap and knot it. If the twig resists bending, choose another rather than forcing it to snap.
Work two or three more twigs around the loop, tucking their thinner ends among the existing branches. Tie each addition in a few places so the frame holds its shape when lifted. Leave some unevenness: the branching lines are part of the design. If a section feels weak, lay a short twig across it and bind it at both ends.
Before adding leaves, hold the frame up by its top edge. This quick check shows whether it twists or sags. Add another tie wherever the twigs shift. Tie a separate loop of twine at the back for hanging, keeping its knot against a sturdy part of the frame.
Layer leaves without hiding every twig
Sort the leaves into small groups before attaching them. You might put broad leaves around the lower half of the wreath and use smaller ones toward the top, or alternate colours around the circle. Begin with just three or four groups spaced apart. This makes it easier to judge the balance before the frame is crowded.
For each group, overlap a few leaves at their stems and bind the stems to a twig with twine. Knot the twine at the back, leaving the leaf faces visible. If a leaf has no usable stem, slip its base beneath an existing tie or layer it behind a stemmed leaf. Avoid pulling the string across the centre of a leaf, where it may tear. Add more groups gradually, turning the wreath as you work so it looks considered from a distance.
Stop while some of the twig frame still shows. Those open spaces give the wreath a lighter shape and help distinguish the leaves. If you have a few fallen seed heads or small branching twigs, tuck them under existing ties for texture. Lift the wreath once more and gently adjust anything that hangs loose.
Choose a sheltered spot and let it change
This is a temporary decoration made from materials that will continue to dry and curl. Hang it where it is protected from rain and strong wind, such as on a covered porch, or place it indoors on a wall away from heat sources and open flames. A hook that supports the twig frame as well as the hanging loop will help keep it steady.
Check the wreath occasionally and remove any leaves that become damp or mouldy. You can untie a group and replace it with newly fallen leaves, or simply let the wreath become more spare as the season goes on. When you are ready to take it down, cut away the twine and dispose of the plant material according to local guidance. The simple frame can become the starting point for another seasonal project.