Plan the bench around your space
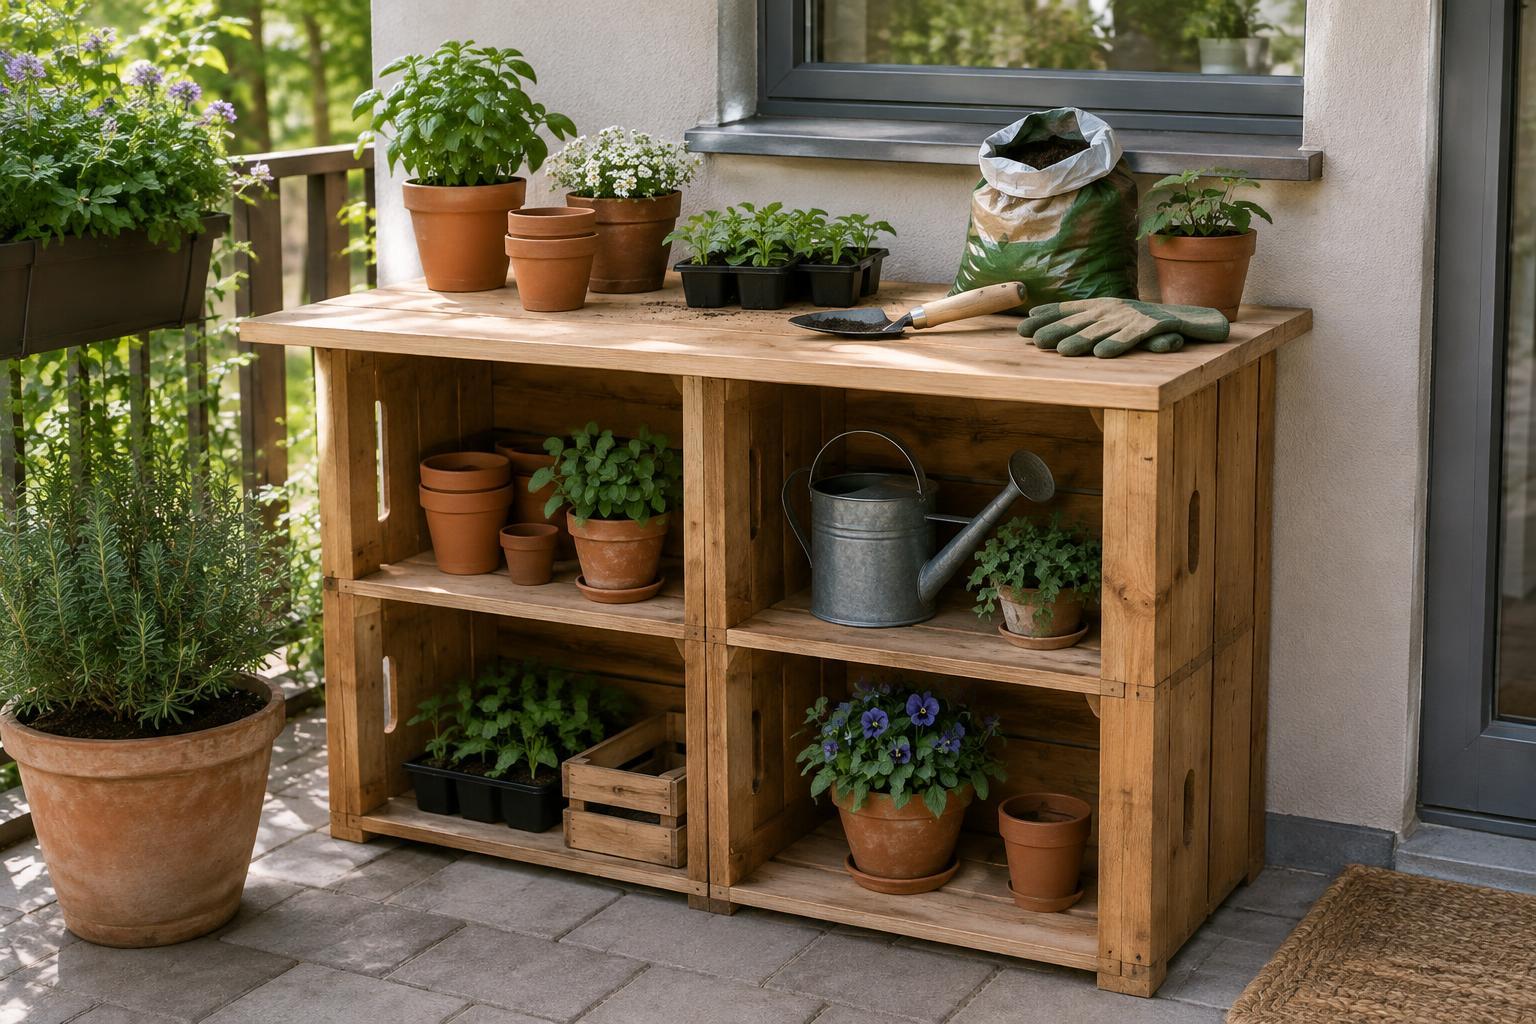
A potting bench gives spring planting jobs a place to happen without taking over the patio or kitchen table. Four matching wooden crates can make a compact base with shelves for empty pots, labels and hand tools. Arrange them in two columns, two crates high, with their openings facing forward. A single board across the top becomes the work surface.
Before buying or cutting anything, measure the spot where the bench will live. Leave enough room to stand in front of it and open any nearby door or gate. Then measure a sample crate: the finished bench will be roughly two crate heights tall, plus the thickness of the worktop. Check that this height feels comfortable for short tasks. Crates vary considerably, so let your measurements determine the board size rather than following a fixed cutting list.
Gather sturdy materials
Choose four wooden crates of the same size with sound corners and solid edges that can accept screws. Avoid crates with loose slats, protruding staples or signs of rot. You will also need a board wide enough to cover the full base, a sheet of exterior-grade plywood for the back, screws suited to the thickness of the wood, and sandpaper. A drill, screwdriver, saw, measuring tape and clamps will make assembly easier. Ask a timber supplier to cut the boards if you do not have a suitable saw.
For a bench in a sheltered outdoor spot, use materials and finishes intended for that setting. Seal or finish cut edges as well as broad surfaces, following the product directions. A removable tray or mat can protect the top from damp potting mix and make cleanup quicker. Skip wheels for this version: a level, stationary base is simpler and less likely to shift while you work.
Build a stable crate base
Lay the crates on a flat surface in the planned arrangement, with all openings facing the same way. Make sure each upper crate rests fully on the solid edges of the crate beneath it. If the crates do not sit squarely or their slats flex under gentle hand pressure, choose sturdier ones rather than trying to correct the problem with extra screws.
Clamp the crates in position. Predrill through solid frame pieces, then fasten adjoining crates together without driving screws through thin slats or splitting the wood. Attach the plywood back across both columns, fastening it into sound edges on each crate. The back helps keep the unit square and stops small supplies from falling out behind it. Sand any rough surfaces and exposed corners, especially around the front openings.
Place the base where it will be used and check that it sits evenly. A soft or sloping patch of ground can make even a well-assembled bench wobble; move it to a firm, level surface before adding the top. The crates are storage, not steps, so keep children from climbing on the finished bench.
Add a practical worktop
Cut the worktop to cover the crates, allowing a modest overhang at the front and sides if your space permits. Keep the overhang small so pressure at the edge does not tip the bench. Smooth the board’s edges, finish it for its intended location, and let the finish dry as directed. Secure the top to solid parts of the crate base with suitable brackets or screws rather than leaving it loose.
Before putting the bench into service, press gently at its corners and along the front edge. Nothing should rock, slide or lift. If it does, stop and correct the fit, fastening or location. Keep heavy bags of compost on the ground; the bench is best used for pots, small supplies and light planting tasks unless you have independently confirmed that your particular materials can support more.
Set it up for spring planting
Give each crate opening a simple job. Keep clean pots and seed trays in one, labels and string in another, and hand tools in a washable container. Store anything that needs to stay dry indoors rather than relying on open crates to protect it from rain. On the worktop, a shallow tray catches stray compost while you fill pots and can be lifted away when the job is done.
Brush off soil after each session, wipe up standing water and check the wood and fasteners occasionally. If the bench will be exposed to persistent rain, move it under cover when possible. The result is a small, adaptable station that makes the first planting sessions of the season easier to start—and easier to tidy away.